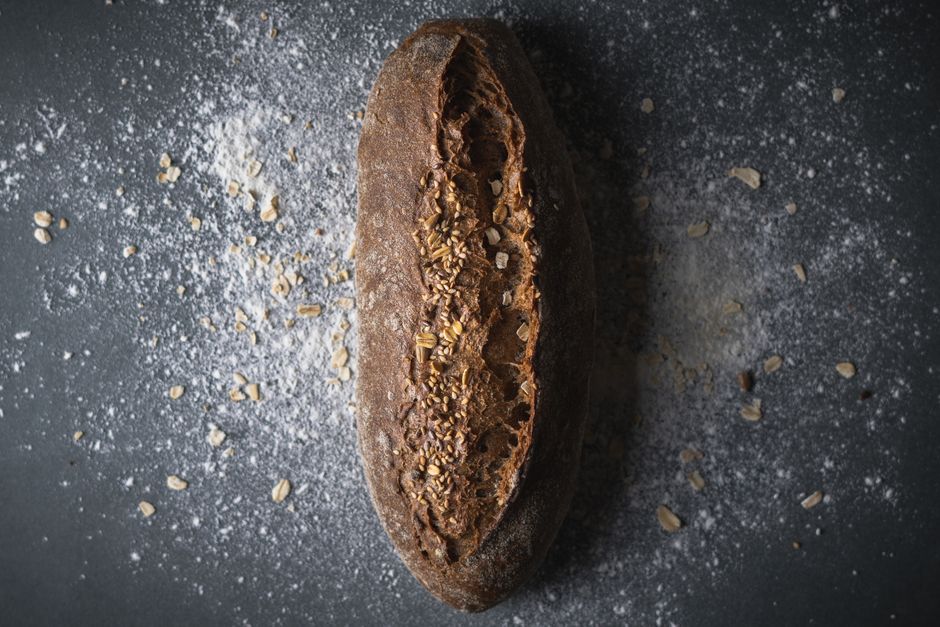
Wholemeal soda bread with oats gives you a satisfying loaf with a nutty crumb and a crisp crust. You can mix it by hand and bake it without waiting for yeast to work. Buttermilk and bicarbonate of soda provide the lift, while a mixture of wholemeal and white flour keeps the bread substantial without making it overly heavy. Serve warm slices with butter, a bowl of soup or a generous piece of cheddar.
A rustic loaf for everyday meals
Soda bread has a closer texture than a yeasted loaf, but it should still be tender enough to slice comfortably. Rolled oats give this version extra texture and a mild flavour. A little butter softens the crumb, and wholemeal flour brings the wheaty character that makes the bread especially good with savoury toppings.
The most useful rule is to handle the dough briefly. You are gathering a soft mixture into a round rather than developing the stretchy structure of ordinary bread dough. A slightly rough surface is welcome. Adding lots of flour or kneading until smooth can make the baked loaf tough and dry.
Ingredients for wholemeal soda bread with oats
Makes one medium round loaf, enough for about eight generous wedges. Weigh the ingredients for a consistent result and keep a little extra buttermilk nearby, as wholemeal flours differ in how much liquid they absorb.
- 300 g wholemeal wheat flour, plus extra for shaping
- 150 g plain white flour
- 50 g rolled oats, plus 1 tablespoon for the topping
- 1 level teaspoon bicarbonate of soda
- 1 level teaspoon fine salt
- 25 g cold unsalted butter, cut into cubes
- 400 ml cultured buttermilk, plus up to 30 ml extra as needed
Choosing your oats
Ordinary rolled oats work well because they soften in the dough while keeping some texture. If you use large jumbo oats, crush them lightly between your fingers first. Avoid steel-cut oats here: they need more cooking and hydration than this quick bread provides. Use only a light scattering on top so the oats can cling to the surface.
A buttermilk substitute
If you have no buttermilk, combine 200 g plain natural yogurt with 200 ml milk. Stir until smooth before adding it to the flour, and loosen with another splash of milk if necessary. Choose unsweetened yogurt. The acidity matters because it reacts with the bicarbonate; plain milk alone is not a suitable direct replacement in this recipe.
How to mix, shape and bake
- Prepare the oven. Heat to 220 degrees C conventional or 200 degrees C fan. Line a sturdy baking tray with baking parchment. Lightly flour a small patch of worktop and have a sharp knife ready.
- Mix the dry ingredients. Put both flours, the 50 g oats, bicarbonate of soda and salt into a large bowl. Stir thoroughly, breaking up any lumps of bicarbonate so it is evenly distributed throughout the flour.
- Rub in the butter. Add the butter cubes. Rub them into the flour with your fingertips until no large pieces remain. The mixture should look slightly crumbly; a few tiny flecks of butter are fine.
- Add the liquid. Pour in 400 ml buttermilk and stir with a sturdy spoon until you have a rough, soft dough. Draw in flour from the bottom of the bowl. If dry patches remain, add extra buttermilk a tablespoon at a time.
- Gather gently. Turn onto the floured worktop. With lightly floured hands, fold the dough over itself just a few times to bring loose pieces together. Stop as soon as it holds its shape.
- Shape and score. Transfer to the tray and pat into a round about 18 cm across and 4 cm high. Brush lightly with water and scatter over the remaining tablespoon of oats. Cut a deep cross into the top, about halfway through the dough, without separating the quarters.
- Bake until firm. Bake for 15 minutes, then reduce to 200 degrees C conventional or 180 degrees C fan. Bake for another 25-30 minutes. The loaf should be deeply browned and firm underneath. Cover loosely with foil if the top darkens before the centre is ready.
- Check and cool. A hollow sound when you tap the base is a useful clue, though it cannot guarantee the centre is cooked. If using a thermometer, look for about 96 degrees C in the centre. Bake longer if needed, then cool on a wire rack for at least 45 minutes before cutting.
Allow roughly an hour and a half from starting the mixture to slicing the cooled loaf. Cooling is part of the process: cutting very hot bread can squash the crumb and make the centre seem sticky even when it has baked through.
Getting the dough and centre right
Look for a soft dough
The mixture should feel moist and tacky, with no dusty pockets. If it breaks apart as you gather it, add a small splash of buttermilk. If it spreads like thick batter, fold in a light dusting of flour. Make small adjustments rather than adding a large amount at once.
Keep the shape broad
A tall ball can brown outside while remaining underbaked in the middle. Patting the dough into a shallow round helps the heat reach the centre. The cross allows the loaf to open as it rises, so make a definite cut rather than simply scratching the surface.
Prepare before mixing
Once the buttermilk meets the bicarbonate, the raising reaction begins. Get the shaped loaf into the hot oven promptly. Do not leave the mixed dough to rest or add extra bicarbonate to encourage more lift; an excess can leave an unpleasant alkaline flavour.
Serving and keeping your bread
Cut wedges for soup or thinner slices for butter and marmalade. The nutty flavour also suits soft cheese, scrambled eggs or sliced tomatoes. For a simple savoury variation, stir a tablespoon of chopped chives into the dry ingredients before adding the buttermilk.
Enjoy the bread on the day it is baked for the freshest texture. Once completely cool, wrap it well and keep at room temperature for up to two days. Toast older slices, watching the oat topping carefully as it can brown quickly.
For longer storage, freeze cooled slices in a sealed freezer bag with baking parchment between them for up to three months. Toast straight from frozen or thaw before serving. Turn dry ends into coarse breadcrumbs, toast until crisp and scatter over baked vegetables for a useful final handful of crunch.