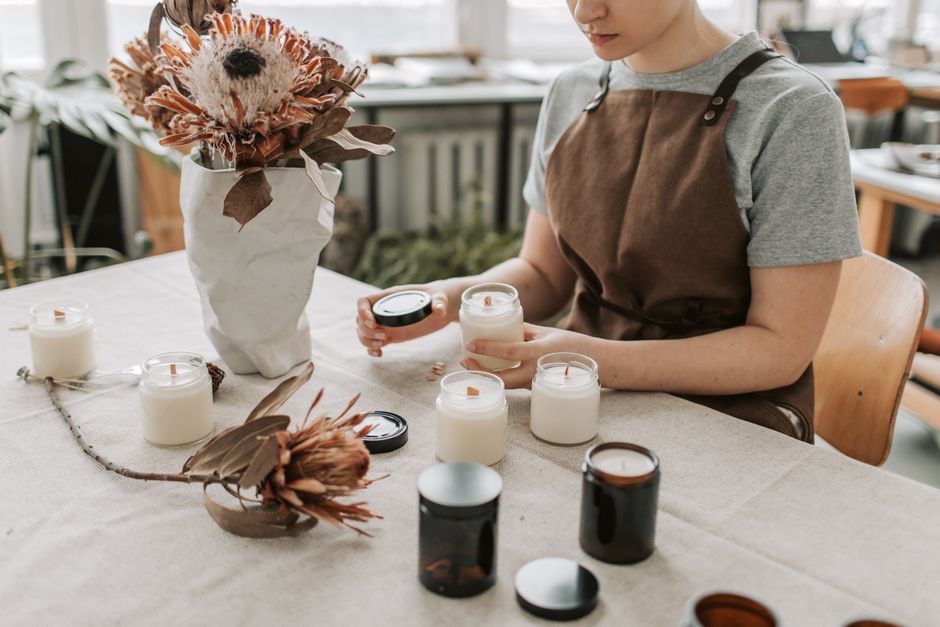
Most homemade candles fail for a boring reason: the maker guesses the wax, fragrance, or wick instead of weighing it. A jar candle can look perfect and still tunnel, smoke, crack, or burn too hot. The fix is simple. Use a heat-safe vessel, measure by weight, and test one candle before making a whole batch.
How much wax and fragrance goes in each jar
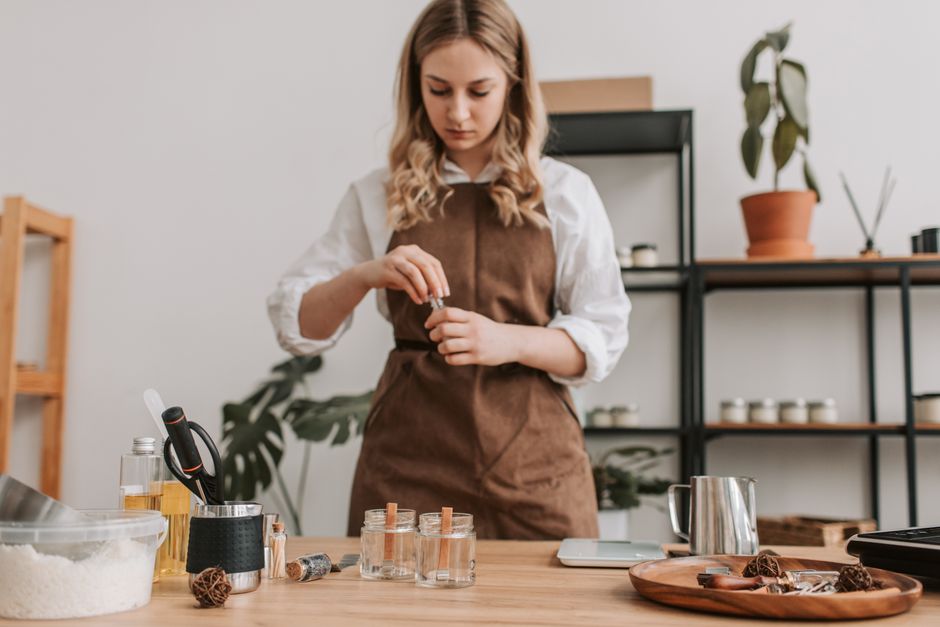
Stop measuring candle ingredients with cups or spoons. Wax flakes have air between them, and fragrance oils have different densities. Volume measurements give you a different candle every time. Weigh everything.
The simple fill-weight formula
First decide the finished candle weight. For an 8-ounce jar, use the jar maker’s stated fill line rather than assuming the jar holds 8 ounces of liquid. If the finished candle should weigh 8 ounces and you want a 6 percent fragrance load, divide the finished weight by 1.06.
That gives roughly 7.55 ounces of wax and 0.45 ounces of fragrance oil. In grams, that is about 214 grams of wax and 13 grams of fragrance. The total is close to 227 grams, or 8 ounces.
The formula is: wax weight = finished candle weight divided by 1 plus fragrance percentage. Fragrance weight equals the finished candle weight minus the wax weight. Write the calculation down before heating anything.
Why 6 percent is the right starting point
Six percent gives a strong enough scent for a first test without pushing the wax system too hard. Many container waxes allow a higher maximum, but the maximum is not a target. A candle with 10 percent fragrance is not automatically better. It may burn poorly, leave oil on the surface, or smell harsh when lit.
Make one test candle at 6 percent. If it burns cleanly but smells too light after a full cure, test 7 or 8 percent in a new candle. Change one variable at a time. If you change the wax, fragrance, wick, and jar together, you will not know what fixed or caused the problem.
Temperature targets for soy wax
Use the wax supplier’s instructions first, but these ranges work as a starting point for many soy container waxes. Melt the wax to about 170 to 180 degrees Fahrenheit. Add fragrance around 170 degrees, then stir slowly for two full minutes. Pour many soy blends between 135 and 145 degrees, but adjust if the surface turns rough or develops wet-looking patches.
Temperature is not a magic number. Room temperature, jar temperature, batch size, and wax blend all affect the finish. Warm the jars slightly with a low oven or heat gun if your room is cold. Never heat them until they are hot to the touch.
Which jar, wax, and wick should a beginner choose?
My pick is an 8-ounce straight-sided glass jar with Golden Brands 464 Soy Wax and an ECO 10 cotton wick as the first test. It is easy to source, forgiving enough for beginners, and simple to compare against other wick sizes. This is a starting point, not a guarantee. Fragrance oil and jar diameter can change the correct wick.
| Option | Typical 2026 US price | Useful specification | Verdict |
|---|---|---|---|
| CandleScience 8 oz straight-sided glass jar | $17-$24 per 12 | About 2.9-inch diameter; container candle format | Best first vessel because the straight walls make burn testing easy |
| Makesy 9 oz glass candle vessel | $34-$45 per 12 | About 3-inch diameter; decorative reusable vessel | Best for gifts, but test the larger diameter before making a batch |
| Golden Brands 464 Soy Wax | $28-$38 per 10 pounds | Container soy wax; common starting pour range around 135-145 degrees Fahrenheit | Best beginner wax for a smooth, familiar starting formula |
| Nature’s Wax C-3 | $30-$42 per 10 pounds | Container soy wax; often needs testing for frosting and adhesion | Good alternative if 464 gives poor results in your room |
| ECO 10 cotton wick | $9-$14 per 100 | Flat-braided cotton-paper wick; useful first test for jars near 3 inches wide | Best starting wick, but keep one size smaller and larger for comparison |
Prices vary by supplier, shipping, and pack size. Treat them as buying estimates, not fixed quotes. The wick should match the jar’s inside diameter, not the label that says 8 ounces or 9 ounces.
Two practical tips make the table more useful. Buy enough wicks for testing three sizes, and label every test candle with wax, fragrance percentage, wick, jar, pour temperature, and date. A notebook beats memory after the first batch.
When not to buy a decorative jar
Do not choose a vessel only because it looks good in a photograph. Double-wall glass, narrow necks, thick colored glass, and uneven interiors make burn testing harder. If you cannot see the melt pool or measure the inner diameter, pick a simpler jar.
When a different wax makes sense
Choose a soy-coconut blend if you care most about a creamy appearance and easier fragrance throw. Choose beeswax if you want a naturally sweet scent and a longer, firmer burn, but expect a different wick and a milder fragrance result. For a first batch, Golden Brands 464 remains the clearest choice because you can find many wick-testing references for it.
How to pour a scented candle without ruining the surface
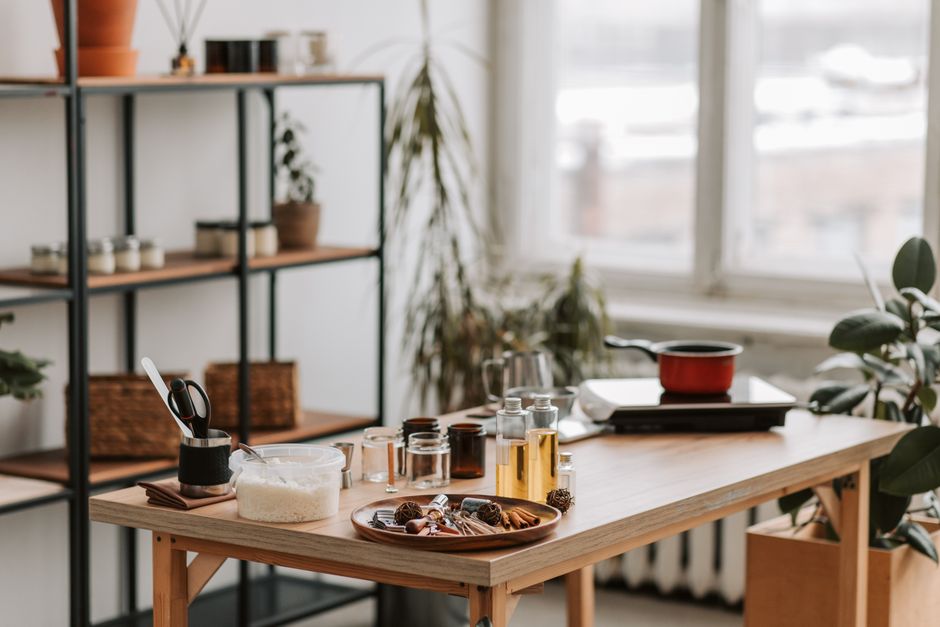
This is the part that rewards patience. Rushing the pour creates bubbles, sinkholes, wet spots, and uneven tops. None of those problems require expensive equipment to fix, but they do require controlled heat and a clean process.
Follow this exact order
- Wash and dry the jars completely. Any water left inside can cause splatter when hot wax enters.
- Place a wick sticker on the metal wick tab and press it firmly into the center of the jar.
- Measure wax into the pouring pitcher. Heat it slowly until all flakes disappear and the wax reaches about 170 to 180 degrees Fahrenheit.
- Remove the pitcher from heat. Add the measured fragrance oil and stir gently for two minutes, scraping the sides and bottom.
- Check the wax temperature again. Pour slowly into the jar at the temperature recommended by the wax supplier, usually near 135 to 145 degrees Fahrenheit for soy wax.
- Secure the wick with a centering bar, chopsticks, or a wick holder. Do not let it drift while the wax cools.
- Leave the candle untouched on a level surface for at least 12 hours. Keep it away from a fan, open window, or cold countertop.
- Trim the wick to 1/4 inch before lighting. Wait at least 48 hours before a first test burn, and allow soy candles seven to fourteen days for a stronger final scent.
How to fix a rough or sunken top
A rough top usually comes from cooling too quickly, pouring at an unsuitable temperature, or using a soy wax that naturally forms a matte finish. A small heat gun can smooth the surface, but keep it moving and use low heat. Holding it in one place can overheat the glass or create a deep crater.
A sinkhole near the wick means the wax contracted as it cooled. Fill the hole with a small amount of leftover melted wax, then let the candle set again. Do not hide a major sinkhole under decorative objects. The candle still needs a stable, visible surface for safe burning.
Burn-test before giving or selling the candle
Burn the candle for two to four hours during the first test. The melt pool should spread close to the vessel edge without making the glass painfully hot. A 3-inch jar may need several hours to reach a full melt pool, but never burn it unattended or for more than four hours at a time. Extinguish the candle when about 1/2 inch of wax remains.
Best scent choices and the final beginner verdict
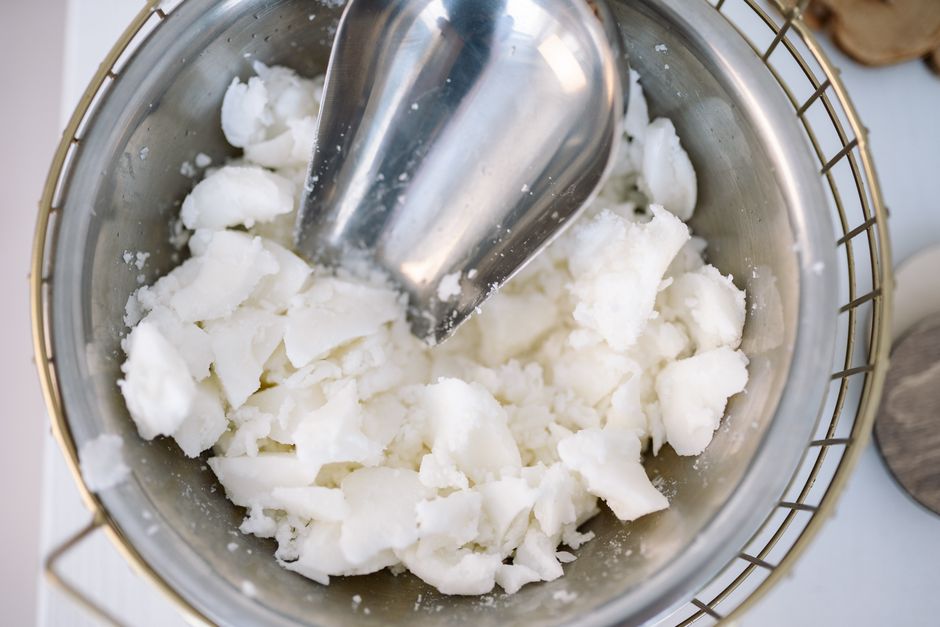
Start with one simple scent, not a complicated blend. Vanilla, lavender, citrus, cedar, and clean linen are easier to judge than a five-oil experiment. A food-and-cooking reader may enjoy coffee, baked apple, lemon peel, or cinnamon, but spice-heavy oils can overpower a small room. Test the fragrance alone before blending it.
Three beginner scent combinations
- Lemon and rosemary: use two parts lemon fragrance to one part rosemary for a bright kitchen scent.
- Vanilla and coffee: use one part vanilla to one part coffee for a warm dessert-like profile.
- Cedar and orange: use two parts cedar to one part orange for a dry, clean scent that is less sweet.
Keep the total fragrance load at 6 percent for the first batch. Blend by weight, record the ratio, and give the candle the same cure time as a single fragrance. A blend that smells balanced in liquid form may change after heating.
The clear recommendation
For a first DIY scented candle in a jar, make one 8-ounce candle with Golden Brands 464 Soy Wax, a 6 percent candle-safe fragrance oil, an 8-ounce straight-sided heat-safe glass jar, and an ECO 10 wick. Pour carefully, cure it for seven days, and run a two-to-four-hour burn test before making more.
That setup gives you a clean baseline. If the candle tunnels, move up one wick size. If it smokes, move down one size or trim more often. If the scent is weak, test the fragrance or cure time before adding more oil. The best beginner candle is not the fanciest one. It is the one whose ingredients, measurements, and burn behavior you can explain.