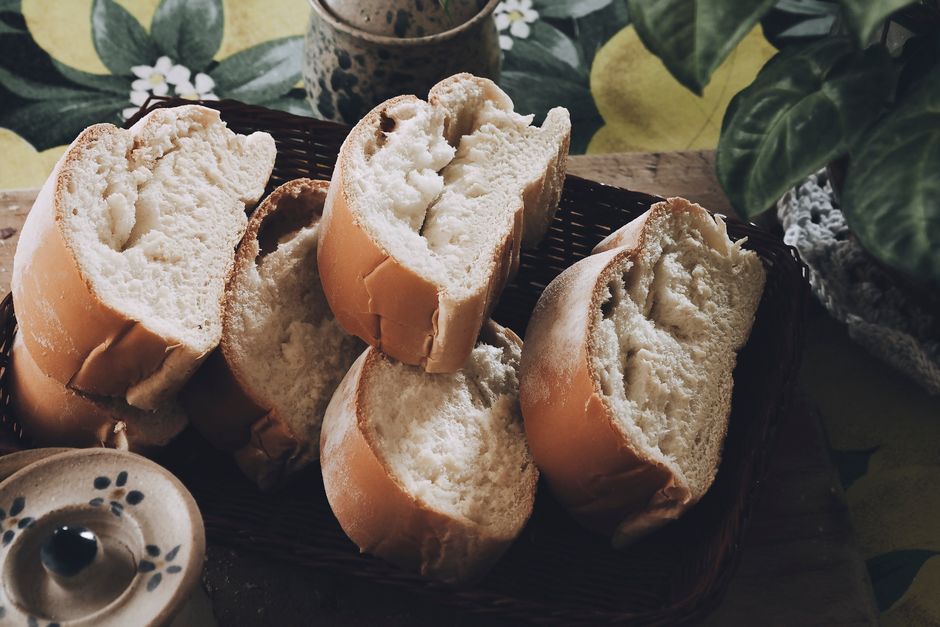
My clear recommendation: sew a roomy, unlined bag from tightly woven linen or a linen-cotton blend, then use it only after the loaf has cooled completely. A fabric bag will protect a crust better than plastic, but it will not make bread last forever. The real trick is balancing airflow with enough fabric density to slow moisture loss.
Which Fabric and Closure Make the Best Bread Bag?
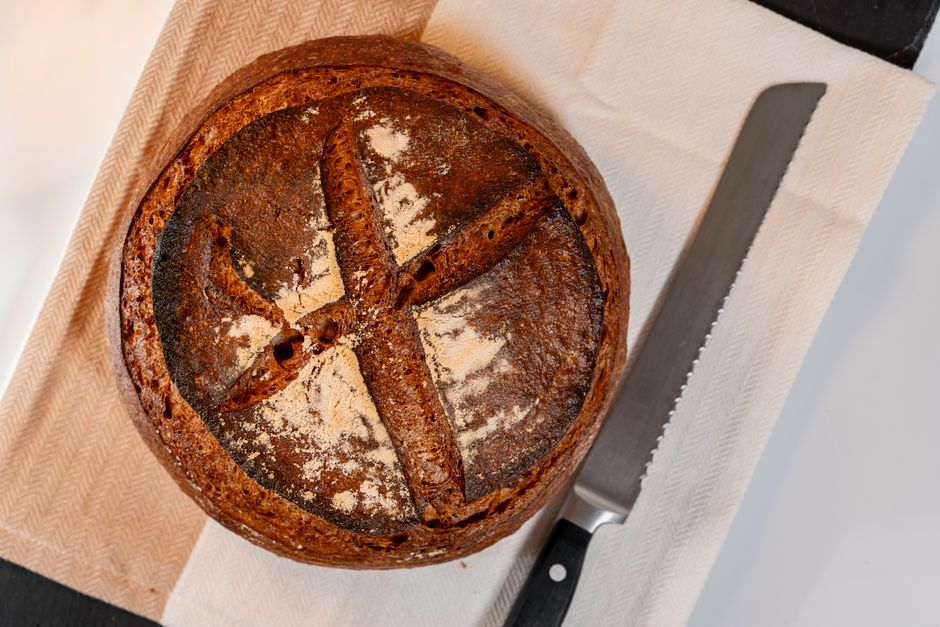
The best fabric is breathable, washable, and strong enough to survive repeated handling. I prefer a medium-weight linen-cotton blend because pure linen can feel thin and slippery, while plain quilting cotton often holds too much moisture around the loaf. Avoid fleece, waterproof fabric, laminated cotton, vinyl, and thick polyester. They block airflow or trap condensation.
| Material or product | Useful specification | Typical 2026 price | My verdict |
|---|---|---|---|
| Robert Kaufman Essex Linen | 55% linen and 45% cotton; usually 43 to 44 inches wide | $12 to $18 per yard | Best all-around fabric for a first bag |
| Pellon 911FF Fusible Interfacing | Lightweight fusible layer for a firmer top channel | $4 to $8 per package | Useful only for the drawstring area |
| Dritz 1/4-inch elastic | Narrow elastic that creates a soft gathered opening | $3 to $5 per package | Good for quick access, but less adjustable |
| Bee’s Wrap Bread Wrap | 17 by 23 inches; organic cotton with beeswax, plant oil, and tree resin | $14.99 | Best no-sew alternative for one loaf |
Choose linen over thick cotton
For most home bakers, Robert Kaufman Essex Linen is the practical pick. It has enough body to sew clean seams, yet it still allows air to move through the weave. Wash and dry the fabric before cutting because linen blends can shrink. I use a warm wash and a medium dryer cycle, then press the fabric while it is still slightly damp. That removes the sizing and gives a more honest finished measurement.
Use a drawstring instead of a tight elastic band
A drawstring gives better control. I can leave the opening loose for a crusty boule or pull it tighter around a small loaf. A tight elastic channel presses against the bread and can create a narrow damp spot near the top. If you want the fastest project, Dritz 1/4-inch elastic works, but I would choose cotton cord or flat linen tape for a bag meant to last for years.
My winner is a prewashed linen-cotton outer layer with a simple drawstring. Add interfacing only to the channel if the fabric collapses while you sew. A fully lined bag sounds polished, but the extra layer slows drying and makes it harder to spot crumbs or mold.
How to Sew a Bread Bag in One Afternoon
You do not need a special pattern. A bread bag is two rectangles, one folded hem, and a pair of side seams. The measurements below fit a medium boule, a batard, or a standard 9 by 5 inch sandwich loaf with room for the crust and your hands.
Cut the panels before sewing
- Wash, dry, and press 1 yard of medium-weight fabric.
- Cut two rectangles measuring 16 inches wide by 20 inches tall.
- Cut one strip measuring 3 inches wide by 16 inches long for the drawstring channel, or fold the top edge twice to make the channel from the bag itself.
- Round the two bottom corners by tracing around a small bowl. This reduces bulky fabric at the base.
- Finish the side and bottom edges with a zigzag stitch, overlock stitch, or narrow French seam.
Sew the channel and close the bag
- Place the two main panels right sides together and sew the side seams and bottom seam with a 1/2-inch seam allowance.
- Press the seams open or toward the back panel.
- Fold the top edge down 1/2 inch, press it, then fold it down another 1 1/2 inches.
- Stitch close to the lower fold, leaving a 2-inch opening at the back.
- Thread 36 inches of cotton cord through the channel, tie the ends together, and hide the knot inside the casing.
Turn the bag right side out and test it with your largest loaf. The bread should slide in without scraping the crust. If it catches, widen the opening before adding decoration. I skip embroidery on the first version because a smooth inside matters more than a pretty front. Wash the finished bag before its first use, then dry it completely.
What Size Should a Fabric Bread Bag Be?
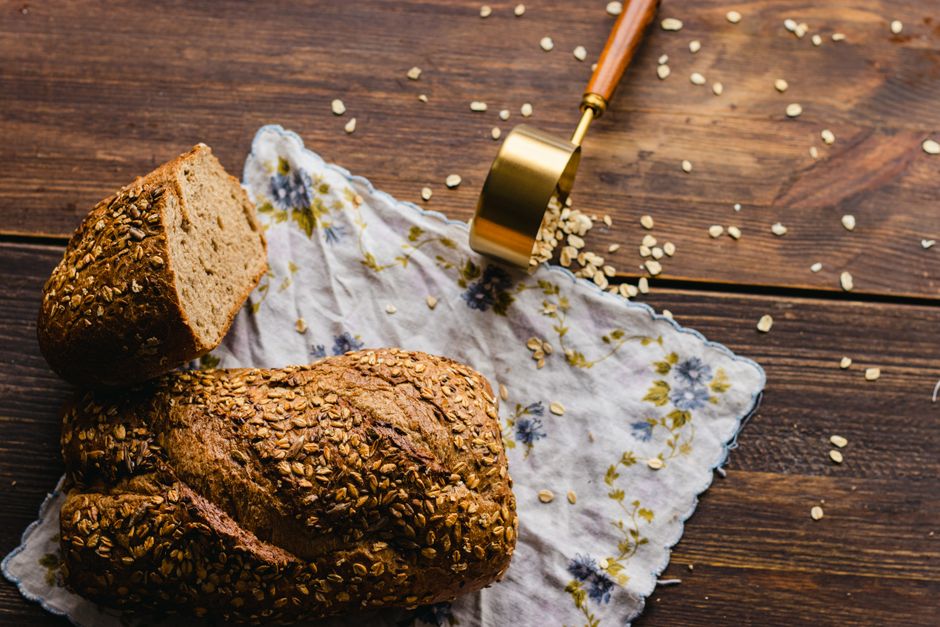
My verdict: make the bag about 2 inches wider and 4 inches taller than the loaf it will hold, because a close-fitting bag crushes the crust and a huge bag folds moisture back onto the bread; a 16-by-20-inch finished bag is the best starting size for most home loaves, while a smaller 13-by-17-inch bag suits rolls or a narrow bâtard.
For a round boule
Measure across the widest point and from the counter to the top of the dome, then add 4 inches to the width and 5 inches to the height; a 10-inch boule needs roughly a 14-by-18-inch interior, but I still cut larger panels because seam allowances and the gathered top reduce usable space.
For a sandwich loaf
A 9-by-5-inch loaf usually fits a bag with a 12-inch finished width and 15-inch finished height, yet the same bag will feel cramped if the loaf has a tall crown, so leave extra room above the top and never force the bread through a narrow channel just to make the finished project look neat.
How to Stop a Fabric Bread Bag from Making Bread Soggy
A fabric bag fails for predictable reasons, and most of them happen before the bread enters the bag. I have found that the storage routine matters as much as the sewing. The bag only manages moisture; it does not remove it. Start with a fully cooled loaf, a clean dry bag, and a counter with some air movement.
Cool the loaf on a rack
Leave the bread on a wire rack instead of a solid board. Air must reach the bottom crust, where steam often collects. A 500-gram loaf usually needs two hours before storage, while a large sourdough boule can need three hours. Cutting early also releases steam into the crumb and makes the slices gummy, so resist the knife until the loaf feels light and cool.
Dry the bag after every wash
Wash the bag when crumbs build up or the fabric smells stale. Use warm water and a small amount of unscented detergent, then air-dry it fully with the opening spread wide. Never put a damp bag back on the counter. Keep two bags in rotation if you bake several times a week. One can dry while the other holds the current loaf.
Know the warning signs
Discard the loaf if you see fuzzy spots, colored patches, or a sour smell that was not present when it cooled. Do not scrape off one moldy area and keep the rest. Bread is porous, so mold can travel below the visible patch. Also replace a bag with permanent dark marks, mildew odor, or a greasy finish that does not wash out. A bag that has stopped drying quickly is no longer protecting the bread.
For daily storage, I leave the cut side facing down on a clean board inside the bag. That limits exposed crumb without trapping the whole loaf in plastic. For a humid summer kitchen, I use the bag only overnight and freeze the remaining slices the next morning.
When Is a Fabric Bread Bag the Wrong Tool?
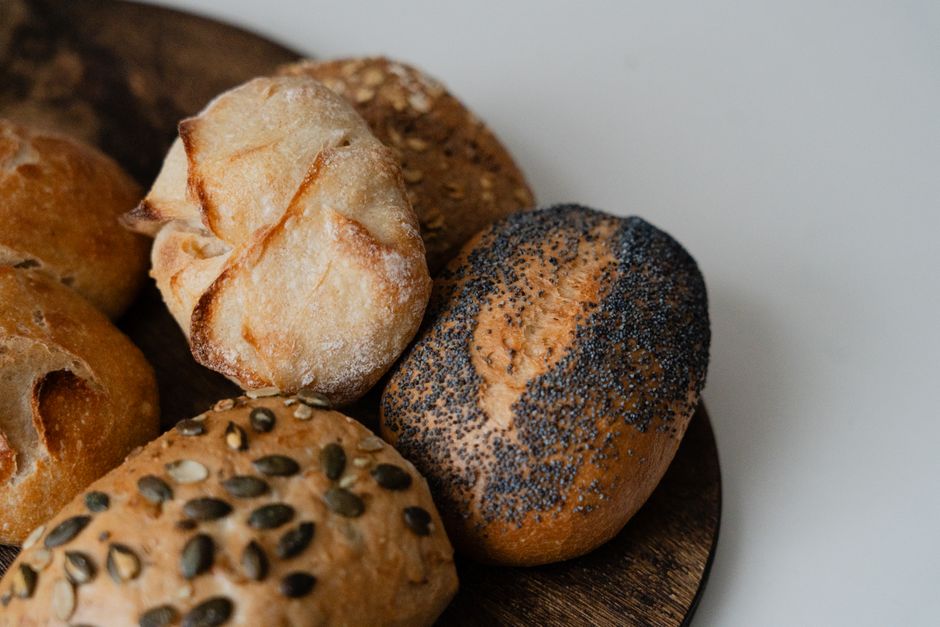
A fabric bread bag is not the answer for every loaf or every kitchen. I would rather use a different storage method than force a breathable bag to handle bread it cannot protect.
Should you choose a beeswax wrap instead?
Choose Bee’s Wrap Bread Wrap when you want a no-sew option for one crusty loaf. Its 17-by-23-inch format is large enough for many artisan loaves, and the wrap costs about $14.99. It molds around the bread more closely than fabric, so it protects the cut side better, but it needs cool-water washing and careful drying. My verdict: choose Bee’s Wrap for occasional baking or travel; sew a fabric bag if you bake several loaves every week.
Should you use a bread box instead?
Choose the Brabantia Roll Top Bread Bin when counter space is limited and you want a rigid container that keeps crumbs contained. It gives the loaf more physical protection than cloth, but it also takes longer to clean after a forgotten loaf goes moldy. An OXO Good Grips Bread Box is another sensible option for households that need a firm lid and easy access. My verdict: choose a bread box for children, busy counters, or frequent handling; choose fabric for better airflow around a crusty loaf.
When should you freeze the bread?
Freeze bread when you will not finish it within three days, when the kitchen is humid, or when you bake more than one loaf at a time. Slice the fully cooled loaf, place parchment between slices, and use a freezer bag with as much air removed as possible. Thaw individual slices at room temperature or toast them from frozen. The final recommendation is specific: use a DIY fabric bread bag for one or two days of crusty-bread storage, then freeze the rest instead of buying a larger bag or adding more layers.