we’ve actually been tie dying for years. but we haven’t done in so long so i was really excited to see the results were still cool! it’s always so risky because unless you’re an expert, you’re basically just winging it and hoping it turns out not ugly. i love tie dye of all varieties but am loving how subtle and neutral these ones turned out. so i hope my instructions and video help if you want to try it out yourself!
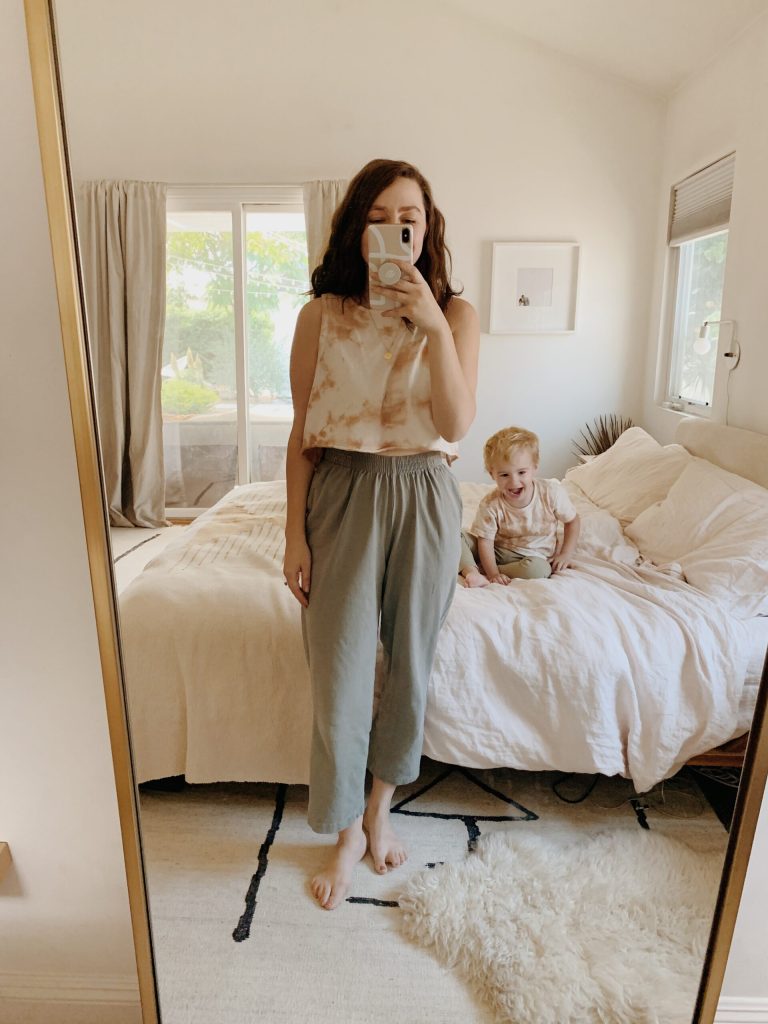
and of course we had to take a family portrait in our matching tie dye…
materials
squeeze bottles
RIT dye — we used camel, tan, rose quartz and pearl grey*
large tubs
rubber gloves
rubber bands
plastic bags
- the pearl grey actually comes out a pretty lavender
directions
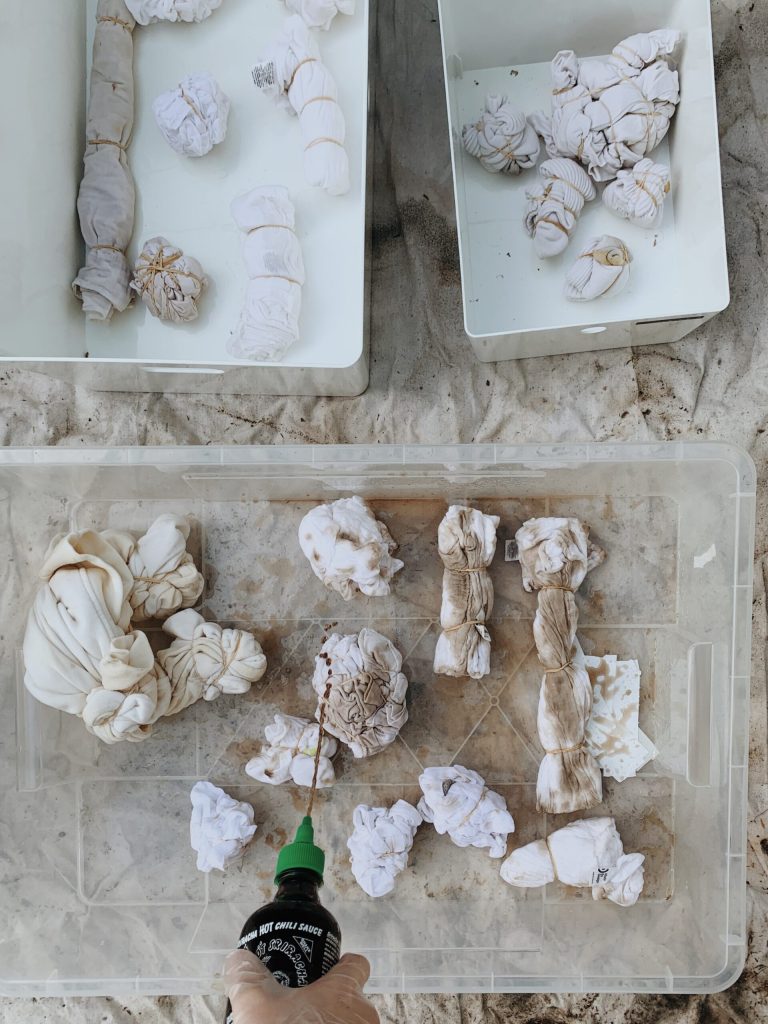
- fold all your fabrics and secure with rubber bands. the majority of these pieces were done with the scrunching technique which is my favorite and creates a really nice subtle blotchy pattern. it’s all trial and error when it comes to tie dying, so just experiment and hope for the best!
- fill squeeze bottles with hot water and a tsp of salt, i like to label each bottle so i remember whats what. shake your dye bottle and pour into squeeze bottle, i only use a little (i would say i used about 1/2 cup) and then test the color with a paper towel. you can always add more! sorry these aren’t exact measurements, i am a novice so if you want something more precise you should google it! we mostly used a combo of camel and tan, the camel is the really warm tone you see in the majority of our pieces!
- soak all your tied up fabrics and wring out before dying. put into one large tub (per color combos) for dying.
- squirt with your dye, you can really saturate your fabrics or you can go a little lighter. i like a more white > dye ratio so i err on the side of under doing it!
- i like to then sop up excess dye like you see in the video.
- add to plastic bags and tie, leave for 2 hours (or more if you prefer a darker color)
- after 2 hours, untie or cut off your rubber bands. here is where i panicked because everything looked really yellow from the camel color but after the wash it faded and looked great.
- rinse out everything until the water runs clear, we’ve done this in the bathtub and with a hose and the hose was way quicker.
- wring out, wash and dry in your machine as you normally would!