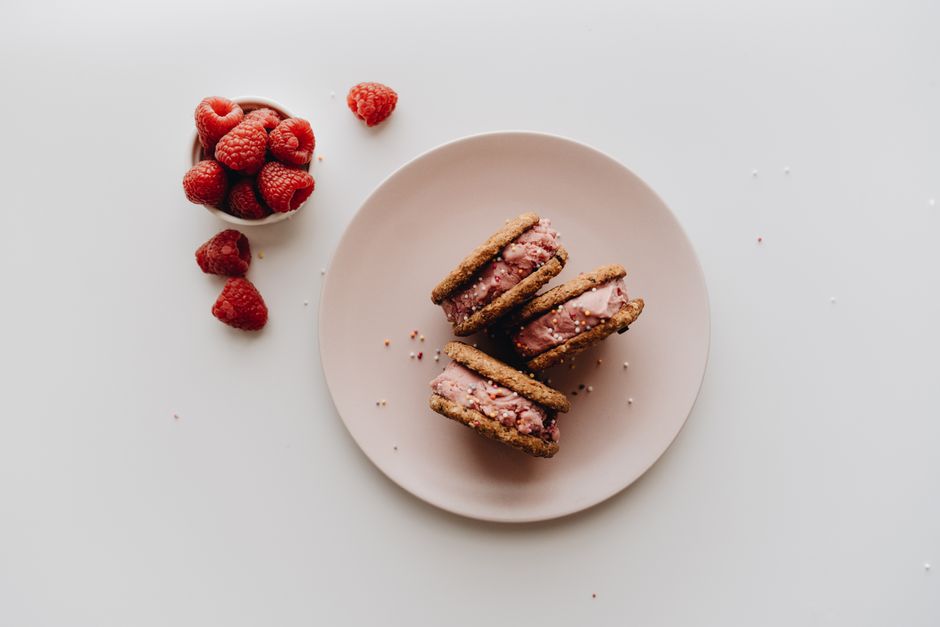
Raspberry ripple no-churn ice cream combines a creamy vanilla base with bright ribbons of cooked raspberries, without an ice cream machine or an egg custard. Each scoop should contain pale, softly sweet ice cream alongside pockets of tangy fruit. The trick is to reduce the raspberry sauce before layering it through gently whipped cream. That keeps the fruit flavour concentrated and the colours distinct. Make this dessert the day before you want to serve it, then allow a short rest outside the freezer before scooping.
How the no-churn base works
Whipped cream supplies the air that gives this ice cream its lighter texture, while sweetened condensed milk adds sweetness and body. Use full-fat ingredients: double cream or heavy whipping cream needs enough fat to whip properly. Evaporated milk is not a substitute for condensed milk, and pouring cream with a low fat content will not produce the same result.
The raspberry sauce matters just as much as the base. Raw berries contain water that can freeze into hard, icy pockets. Cooking them with a little sugar creates a thicker sauce that is easier to ripple through the cream. A little lemon juice sharpens the fruit against the sweetness of the condensed milk.
Ingredients and equipment
This recipe makes approximately eight servings. Allow about 25 minutes for preparation and cooking, extra time for the sauce to cool, and at least eight hours for freezing. Choose a shallow, freezer-safe container with a lid and a capacity of about 1.5 litres.
For the raspberry ripple
- 300g fresh or frozen raspberries
- 50g caster sugar or granulated sugar
- 1 tablespoon lemon juice
For the vanilla ice cream
- 600ml cold double cream or heavy whipping cream
- 397g full-fat sweetened condensed milk
- 2 teaspoons vanilla extract
- A small pinch of fine salt
You will need a small saucepan, a flexible spatula, two mixing bowls and an electric whisk. A fine sieve is useful if you prefer a mostly seedless ripple. Keep the cream refrigerated until you are ready to whip it, and use a clean, dry bowl.
Frozen raspberries can go straight into the saucepan. With fresh berries, remove any spoiled fruit, then gently rinse and drain the rest. There is no need to choose berries that look perfect, since they will break down during cooking.
Cook and cool the raspberry sauce
- Put the raspberries, sugar and lemon juice into the saucepan. Warm over medium-low heat until the fruit releases its juice and the sugar dissolves, stirring occasionally. Crush the berries with your spatula as they soften.
- Bring to a gentle simmer. Cook for about 8–12 minutes, stirring frequently, until glossy and thickened. Frozen berries may need longer because they must thaw first. A spatula drawn across the pan should leave a brief trail.
- For a smoother ripple, press the sauce through a fine sieve into a bowl, then discard the seeds. If the strained sauce seems thin, return it to the saucepan and simmer briefly to reduce it further.
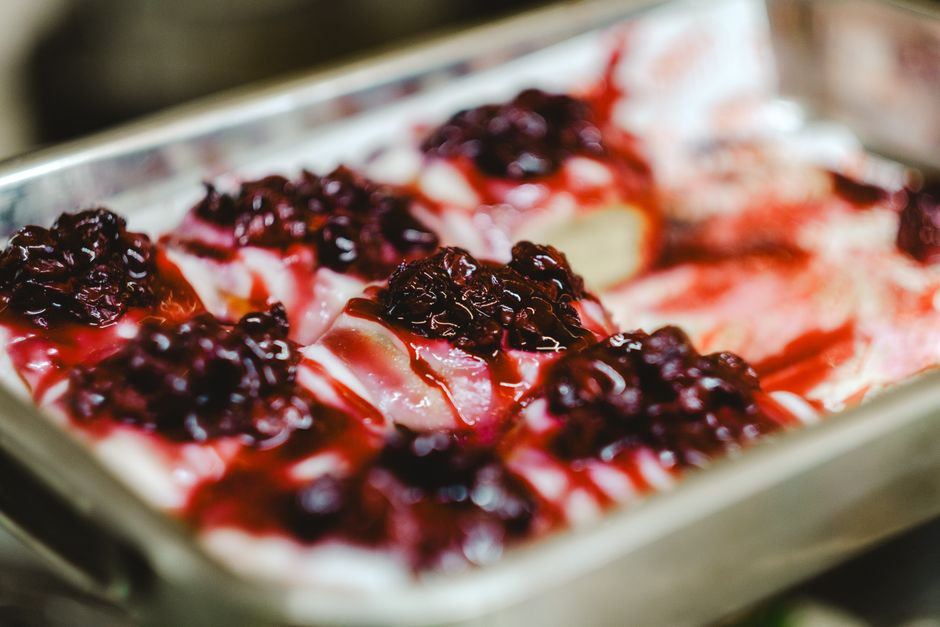
- Transfer the sauce to a shallow heatproof bowl. Let the steam escape, then refrigerate until completely cold. It should fall from a spoon in a thick ribbon, rather than run like juice.
The finished sauce should spread easily, without being watery or stiff like a firmly set jam. If you reduce it too far, stir in water a teaspoon at a time to loosen it, then chill again. Do not add warm sauce to the ice cream mixture: it can soften the whipped cream and blur the layers.
Whip the cream and build the layers
- Mix the condensed milk, vanilla and salt in a large bowl. Set the chilled raspberry sauce and freezer container nearby so you can assemble everything as soon as the cream is ready.
- Whisk the cold cream in a separate bowl until it forms soft peaks. When you lift the whisk, the cream should hold a mound with a tip that bends over. Stop before the cream looks stiff or grainy.
- Fold a generous spoonful of cream into the condensed milk mixture to loosen it. Fold in the remaining cream in two additions, lifting gently from the bottom with your spatula. Stop once evenly combined.
- Spread one-third of the vanilla mixture in the container and dot with one-third of the raspberry sauce. Repeat twice, finishing with small spoonfuls of sauce across the top.
- Pass a thin knife or skewer down through the layers in a few loose curves. Cover and freeze on a level shelf for at least eight hours, preferably overnight.
Swirl sparingly. The layers already distribute the fruit throughout the container. A few passes create connecting ribbons, while repeated stirring turns the whole mixture pink. Scatter the sauce in small spoonfuls instead of pouring it into one large puddle, which can leave a concentrated patch of frozen fruit.
Get the best scooping texture
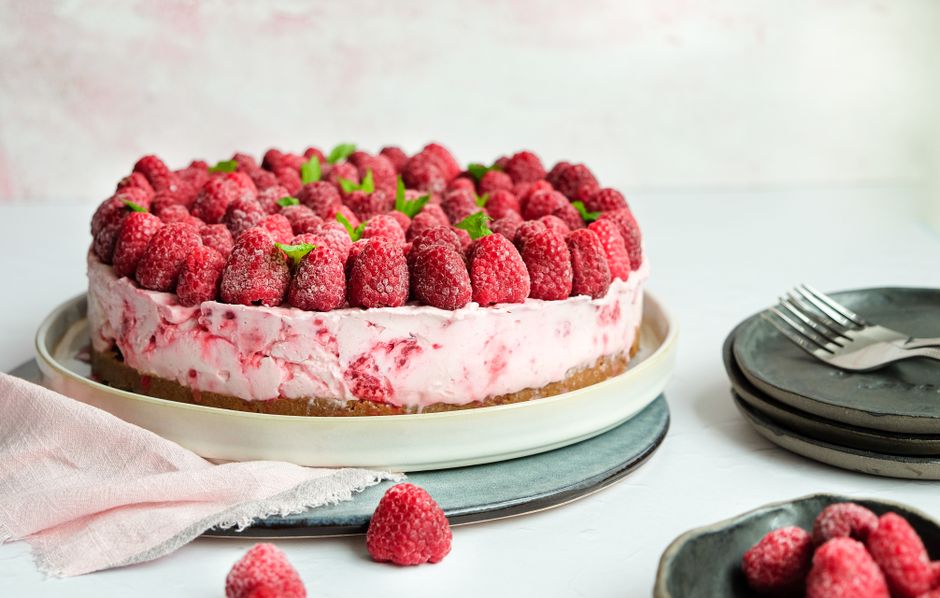
Remove the container from the freezer about 10–15 minutes before serving, checking earlier in a warm kitchen. The edges should yield easily to a spoon while the centre remains firm. The exact time depends on your freezer and the depth of your container, so follow the texture rather than the clock.
Dip your scoop in warm water and shake it dry. Scoop across the layers to collect both raspberry and vanilla, then serve in bowls or cones. Fresh berries, a crisp biscuit or a little grated dark chocolate make simple accompaniments. The ripple already gives plenty of flavour, so you can also serve it plain.
Adjustments and troubleshooting
If the fruit freezes into icy patches
The sauce may have been too thin. Reduce it until it leaves a clear trail in the pan, and check its consistency again after chilling. Avoid stirring extra fresh fruit into the base, since the pieces can become hard when frozen. Serve fresh berries alongside instead.
If the base is dense or slow to set
Cream that has not reached soft peaks supplies too little air, while vigorous folding can knock that air out again. Whip until the cream holds its shape gently, then fold only until combined. A deep container also takes longer to freeze through; give a soft centre more time before serving.
For a small flavour variation
Fold finely grated lemon zest into the condensed milk for a citrus note. Alternatively, replace half the raspberries with blackberries and strain the cooked sauce. Keep the total fruit quantity the same and cook to the same thick consistency. Avoid adding extra liquid flavourings that could affect freezing.
Prepare ahead and store
You can make the raspberry sauce a day ahead and refrigerate it in a covered container. Stir before using and make sure it is fully cold. This leaves only the whipping, folding and layering to do when you are ready to assemble the ice cream.
Keep the finished ice cream tightly covered in the freezer and enjoy within two weeks for the best texture. If your container has plenty of empty space above the surface, press food-safe wrap gently against the ice cream before replacing the lid. Soften only as much as needed for serving and return the container promptly to the freezer.