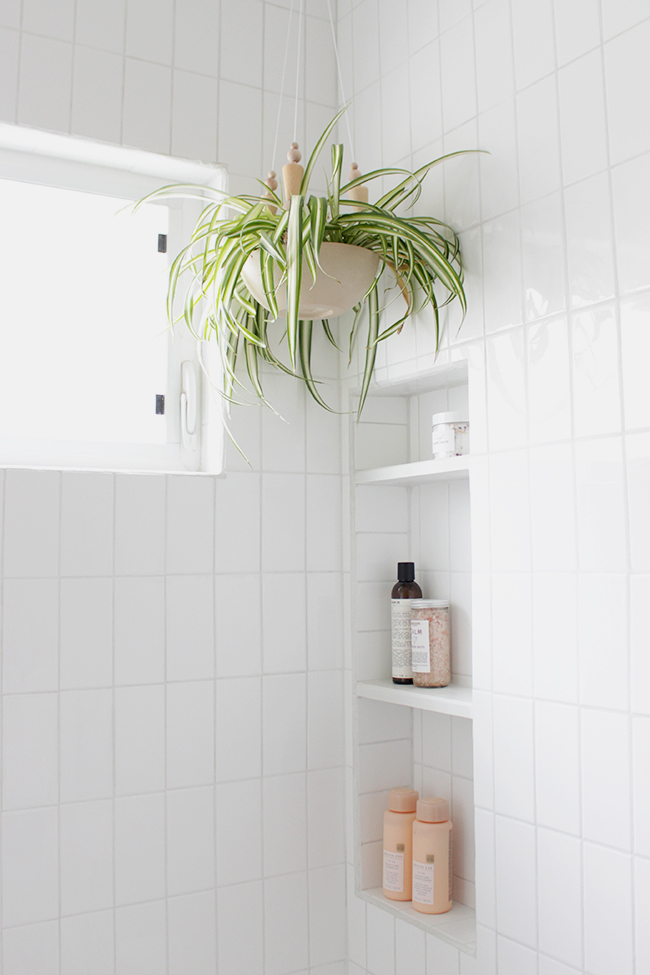
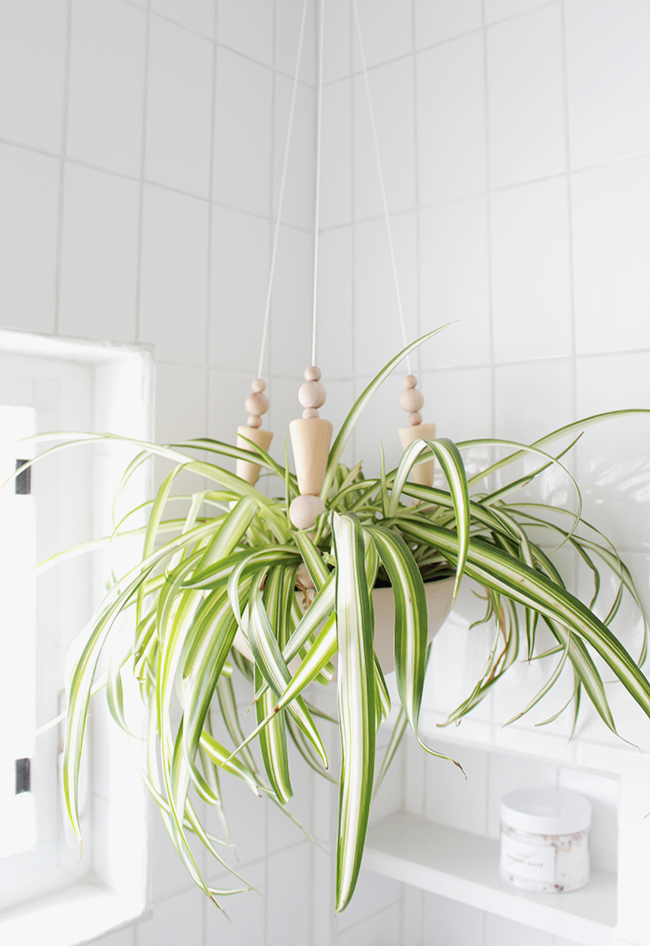
i loooove a little pop of greenery in a bathroom, as soon as the renovation was done i realized what a huge visual difference a plant in the corner would make when you walk by. i looked online for a cute planter but ultimately realized i could make something in a few minutes that would be better and cheaper and i totally did!
this DIY literally took 10 minutes. and i love it so much. i had all the supplies on hand besides the bowl, which was the perfect size — you can use any bowl you want, but this one was easy to drill through and meant for plants.
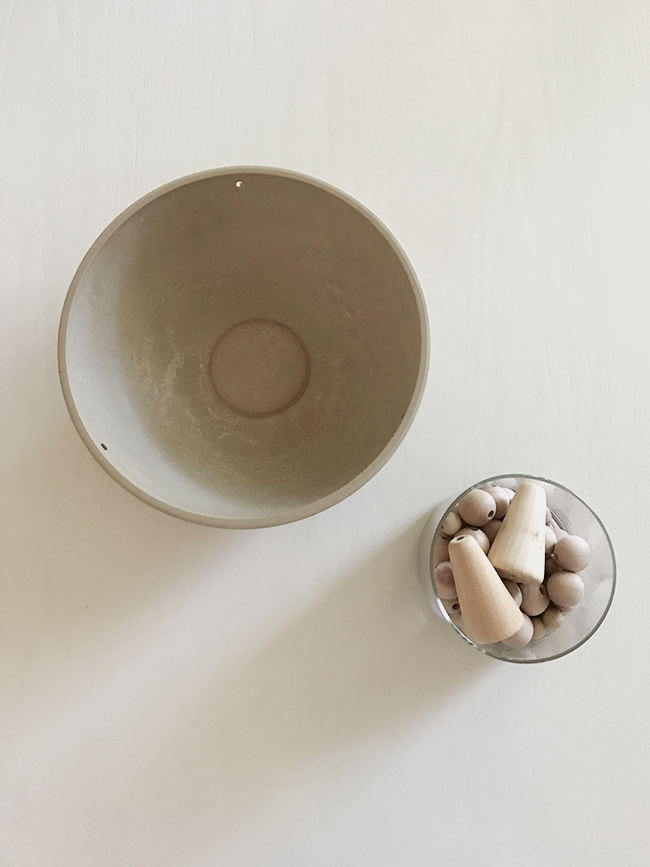
materials
- planter bowl
- drill with 1/4″ drill bit
- various sizes of wood beads
- wood cone beads (i got mine at michaels but these are similar!)
- nylon string (or bakers twine)
directions
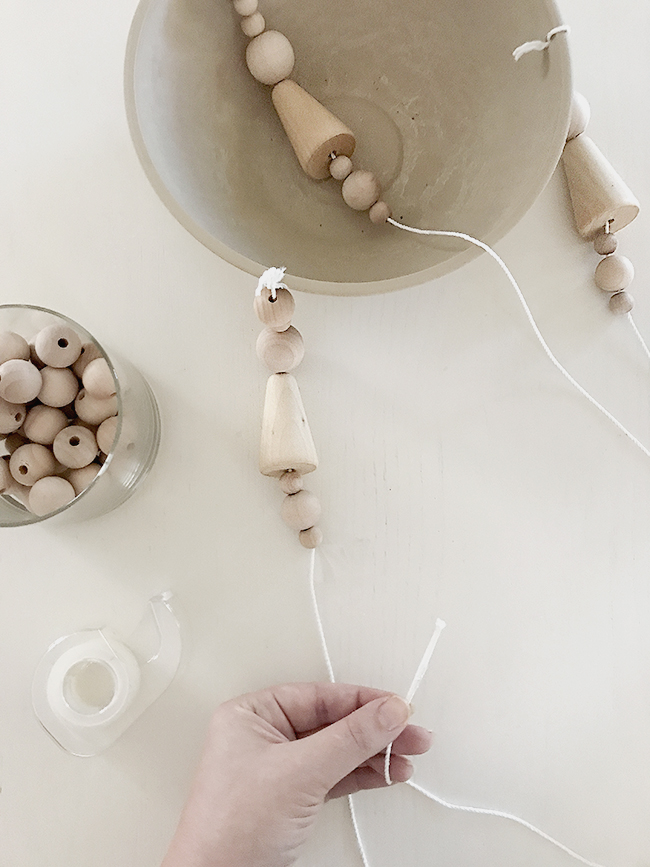
- drill three holes in your bowl, visualize a peace sign in terms of equal spacing.
- cut three extra long pieces of your nylon string, depending on how long you want your hanger, and leaving extra for lots of knots. the nylon string can be a pain when it comes to tying tightly, so i did like quadruple knots everywhere.
- tie your first piece of string onto your bowl, and decide on the bead pattern you like. in retrospect, i maybe would have gone even higher with my beads because the plant is so crazy that you can’t see most of them — could be really dope to go all the way up too. if you have trouble threading your string into your beads, place a piece of scotch tape around the end (like a shoelace) and it helps a ton.
- repeat on the other sides, and once you’ve strung all your beads, tie all three pieces together. it’s easiest to make sure you like the height but lowering your bowl to the floor and doing this step. tie a big knot on the top, and a loop if you can.
- fill with a plant and hang onto a hook on your ceiling!