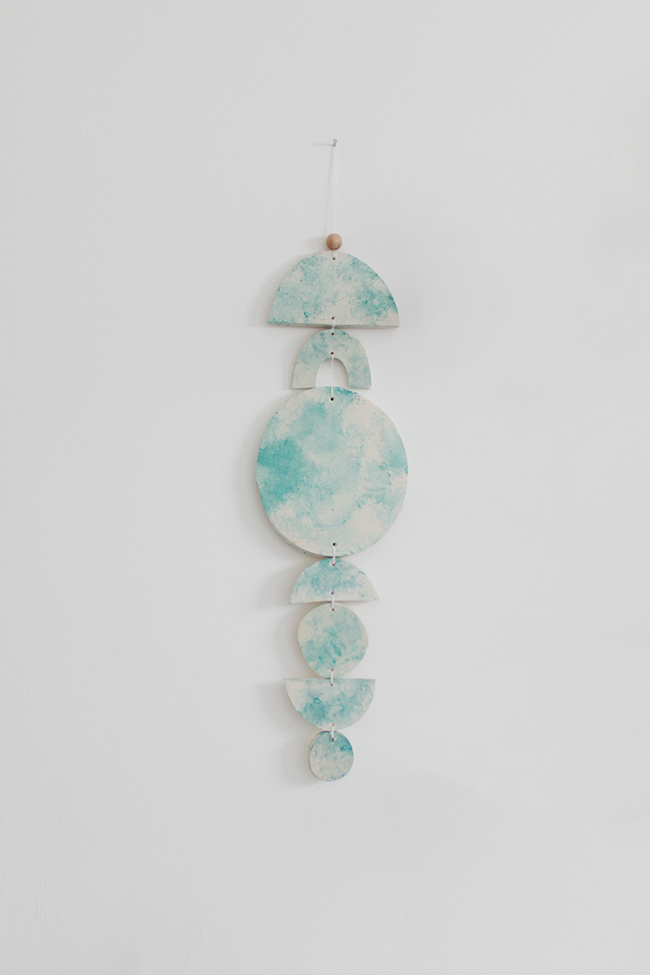
you’ve seen me make a lot of things with polymer clay, and i’ve already made a clay wall hanging — but i decided to make a new and improved one for the bathroom. i knew i wanted to do some semi circles and full circles but beyond that i wasn’t sure what i wanted to do — and i’m so happy with how it turned out.
materials
- polymer clay
- xacto knife
- clay roller
- needle and thread
- small wood bead
- acrylic paint
directions
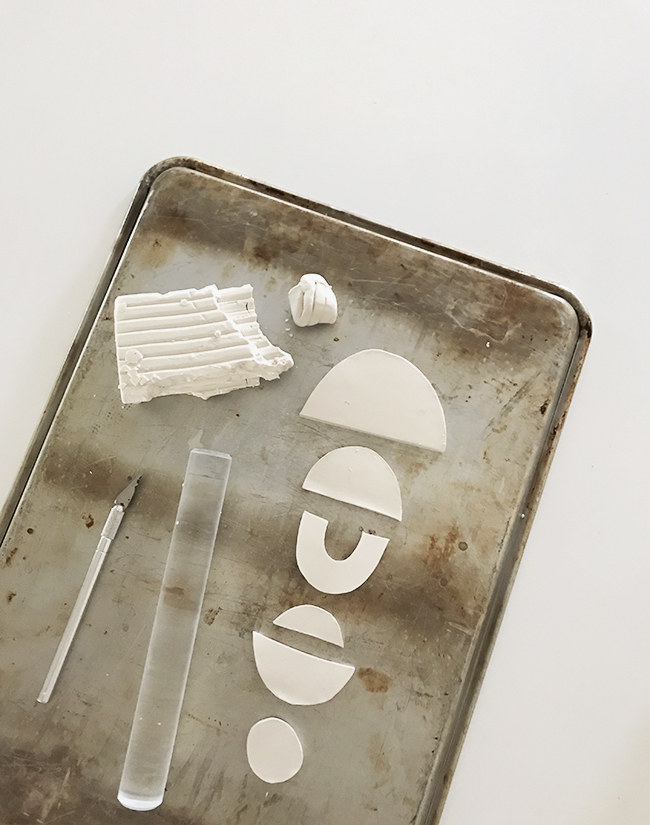
- condition your clay and roll it out, cut into shapes you like (and redo if you’re not happy with them). i freehand cut everything but if you’re not comfortable with that, you could also use cookie cutters. try various sizes, and try at least one really piece to add a little more visual interest.
- try to figure out a general layout before baking, because then you can decide where to put holes. use a toothpick to poke holes and bake according to package directions. let dry and cool down before handling.
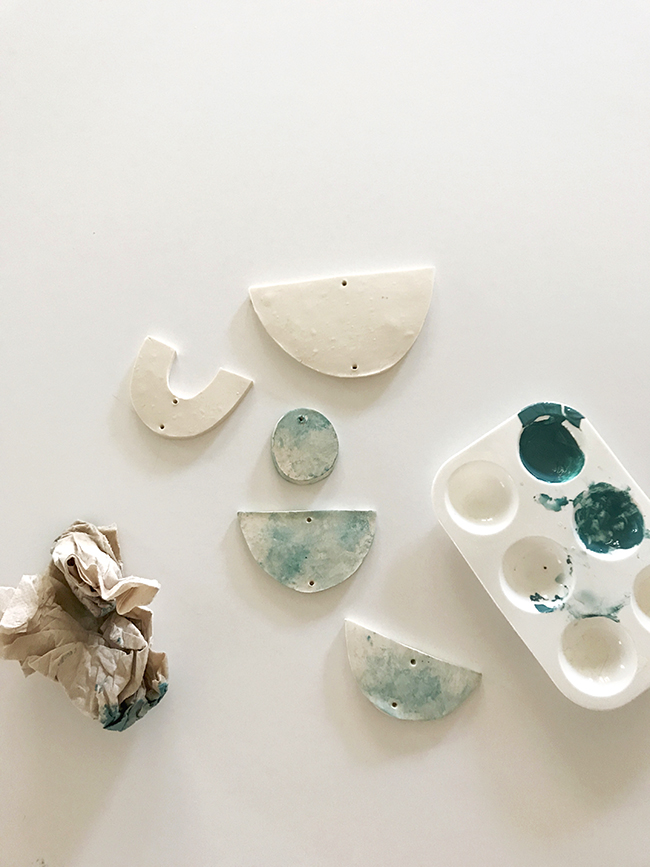
- to sponge paint, i used paper napkins with watered down paint — i would practice a little on a different surface to figure out your technique.
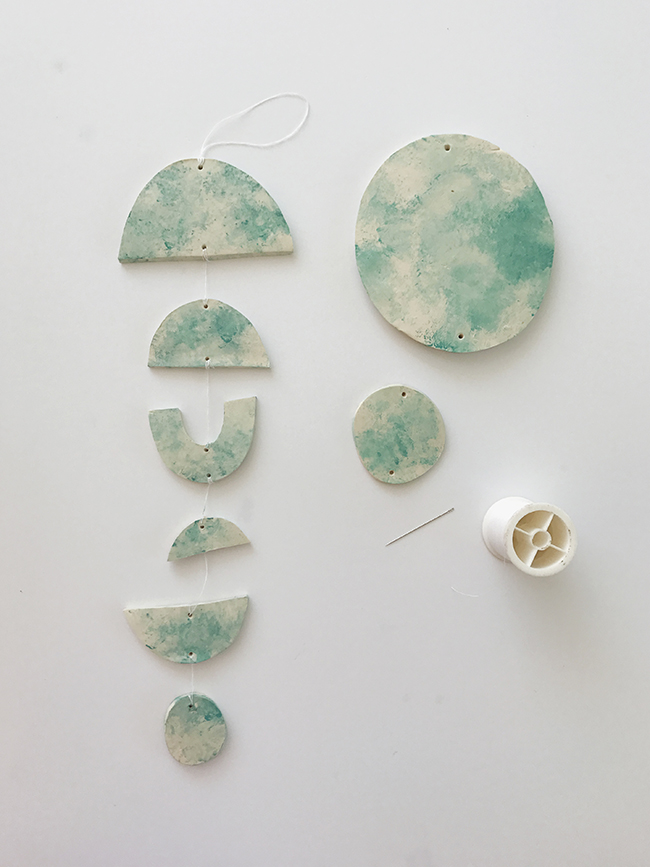
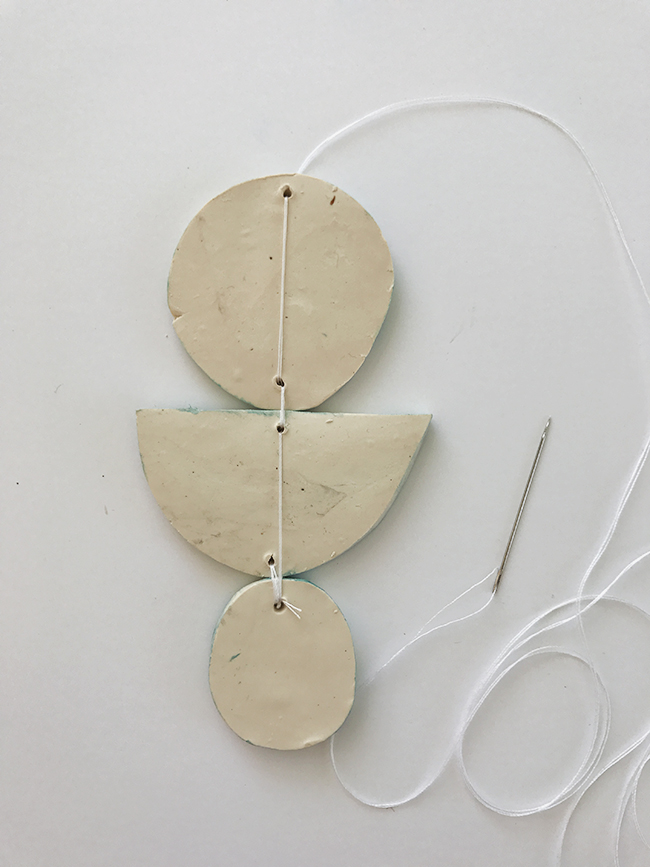
- i first tied the pieces together pretty loosely and decided i didn’t like that — so i cut it off and started over. using a needle and thread, just knot one piece really tightly and a lot, and then move onto the next piece. thread from one piece to the next knotting along the way. and don’t worry about tying too many times, you want it more secure than less.
- once you get to the top, leave a little extra to tie a loop to hang. i decided to add a little wood bead to the top by just threading it through.
super cute right?! i love how it’s not a big piece but adds so much to the wall. plus my dad will be so happy i have some color in the house.