
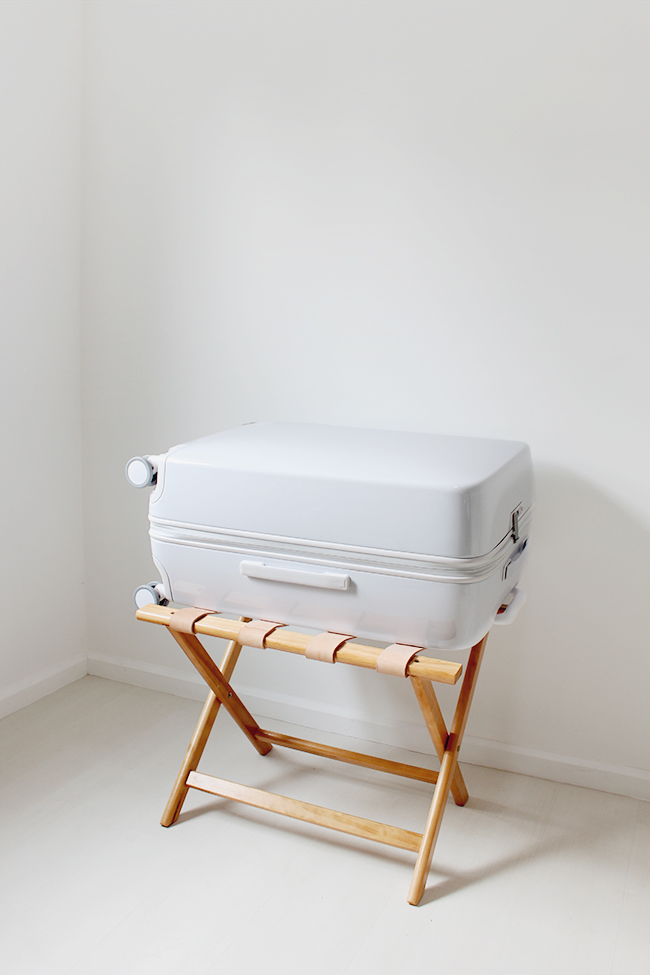
with the holidays totally here, i wanted to share this simple DIY for all you hosting relatives in your guest rooms. i’ve always wanted a luggage rack for our guest room, but have never liked any — so we decided to just make it! and now i think this is the chicest luggage rack ever.
ps, we just updated an existing luggage rack versus building one from scratch. if you’re super ambitious you could totally do that — but this method is cheaper and quicker (it took under an hour!)
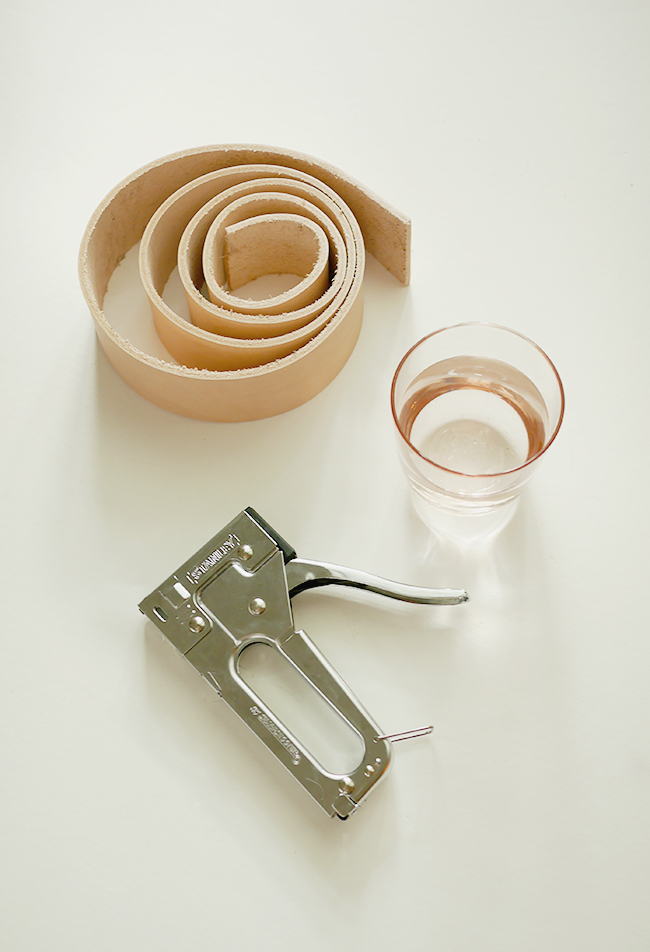
materials
- wood folding luggage rack
- cowhide leather strips (2x 50″ pieces)
- staple gun
- power drill
directions
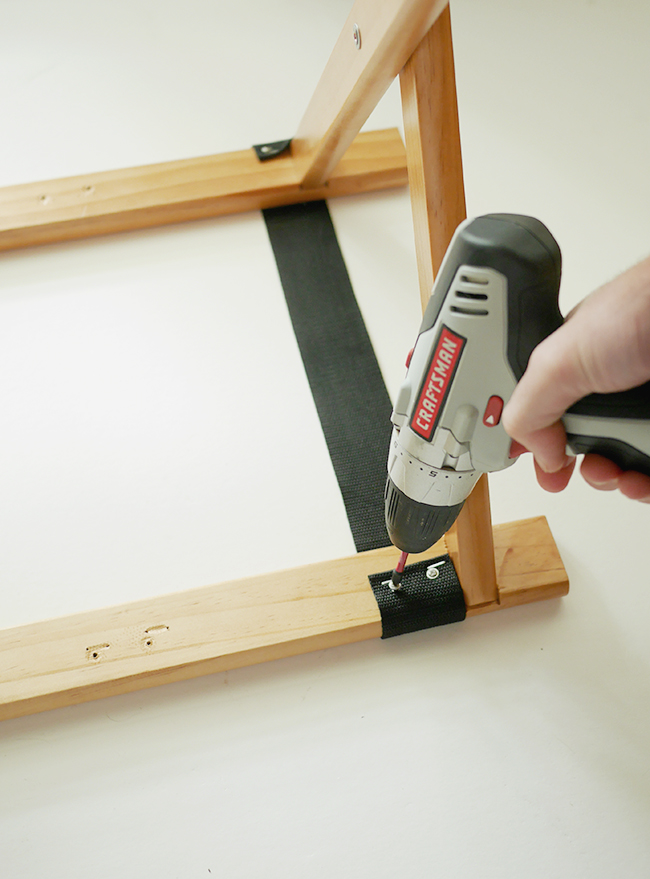
- start by removing the straps on your luggage rack. our nylon straps were attached with staples (so i assume others are too), you can use pliers to remove those, and a drill to remove any screws.
- cut your leather into four strips that span across (or more strips if you go with a thinner width leather), you can use the old straps as a reference for length.
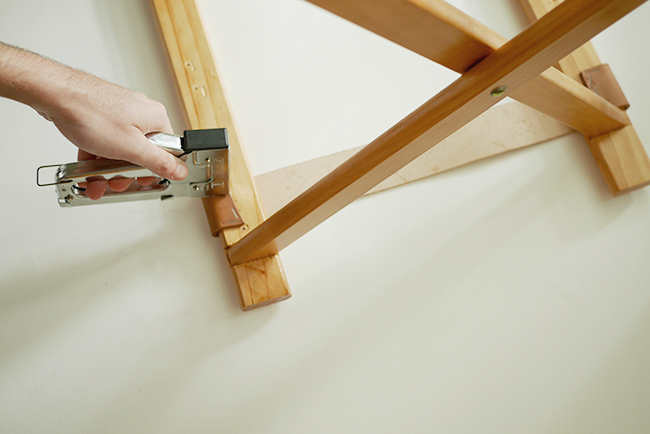
- we used a very thick cowhide leather, so in order to attach and bend, we soaked the ends in a glass of water prior to working with them. soak each end for a minute and then staple in place on both sides.
- go to the other end of your rack and do that strap, this will make it easier to make sure you space your straps evenly. once you’ve stapled all four straps on, you can secure by using a screw on each end as well. you want to make it as secure as possible for supporting heavy luggage, so i definitely recommend you add a screw or two. we also tried adding some glue to the top but that didn’t do anything, so go ‘head and forget i mentioned it.
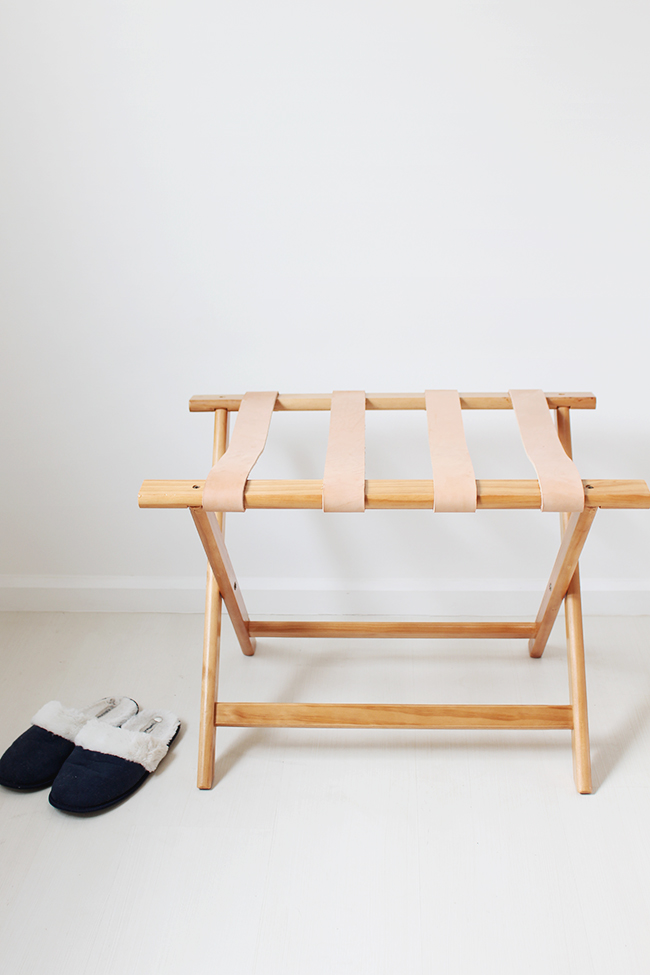
so easy, and handsome af! hope you can try it out.


